| 1.Open a new transparent
image, size;325X240 |
| 2. Add a new layer, name it, top
right top wing, got to selections, Load/Save from disk.
Load the 1righttopwing sel. Flood fill with
color;#ffff00 or color of choice. Got to selections,
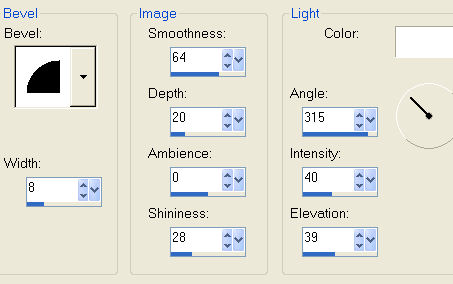
float, them to 3D effects, cutout and use these settings.

I used color; #e5a00b
Repeat the cutout, changing the
vertical and horizontal to minus 4. Deselect. |
| 3. New raster layer, named; left top wing, load the
2-lefttopwing sel, flood fill with the same color; #ffff00, float, use the same
2 cutout
settings, Deselect. |
| 4.Add a new layer, name it, right bottom wing, load
the 3=rightbottomwing, flood full with the same yellow
color, float and use the same 2 cutout settings. Deselect. |
| 5.Add a new layer, name it; left bottom wing, load
the; 4-leftbottomwing. sel, flood fill with the same
yellow color, float, use the same 2 cutouts. Deselect.
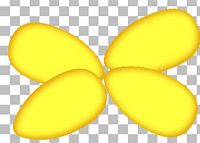
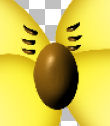
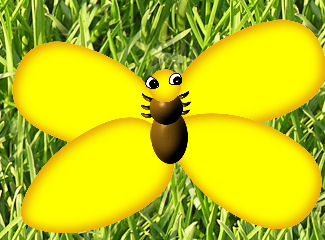
This is what I have, shown smaller. |
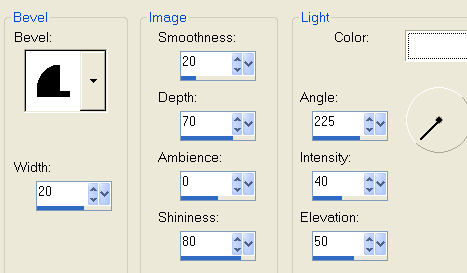
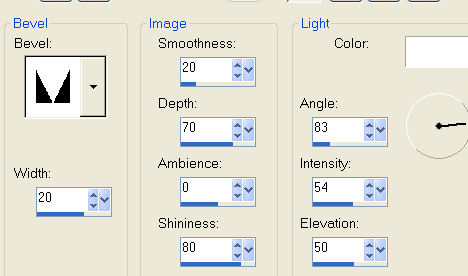
| 6. Add a new layer, name it feet. load the 4a-feet
sel, flood fill with; #69470d. G to 3=D effects, inner
bevel and use the settings below. Deselect.
 |
| 7. Add a new layer, name it body bottom, load the
5-bottombottom sel, flood fill with the dark brown
#69470d.. Got to 3D effects, inner bevel and use
the settings below. Deselct
 |
| 8. Add a new layer, name it body top, load the
6-bodytop sel, flood fill with the same color as the
body bottom and use the same inner bevel. Deselect. |
| 9. Add a new layer, name it head, ;load the 7-head sel, flood fill with the yellow;#ffff00,float,
use the same cutouts as we did for the wings, except
change the vertical and horizontal to 2, repeat with
minus 2. Deselect. |
| 10. Add a new layer, name it eyes1, load the
8-eyes1 sel, flood fill with black, go to selections,
modify, contract by 1 click ok, flood fill with white,
Deselect. |
| 11. Add a new layer ,name it eyes2, load the 9-eyes2
sel, flood fill with black, got to 3D effects, inner
bevel with the settings below.
Deselect. |
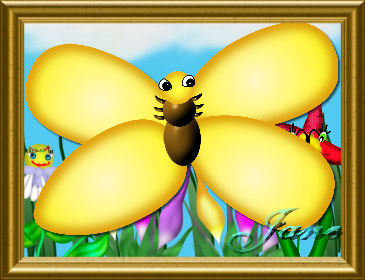
| 12. To merge, and add a
background, hide the background layer by clicking on the
eye in the layer palette and merge visible. Open the
background layer, hi-light the background layer, flood
fill with a color of your choice. If you want to add
something to the background, flowers, etc, add new
layers. To save as a tube, Merge visible and export as
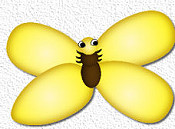
Picture Tube. There is
your cute butterfly. |
|
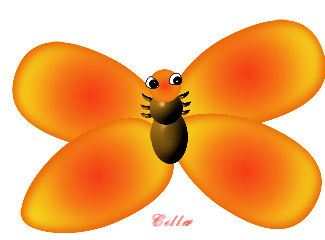
My Very Good Friend
Cellar, Did this one for me, Thanks Cellar. |
|
Thank you LarryE for doing my
butterfly tutorial. Marvelous work. |