|
|
| Created Using Photo impact version XL
skill Level intermediate.
Author; Jane Davidson
Web site:
Jane's Haven.
Email:
Here
Terms of Use: here
Additional files: This decoration came from Dover
publishing.
the head and foot board.,
here
Tools used: Path drawing tool, transform, path edit,
air brush, Burn tool, blur tool |
 |
| |
1. Open a new image, size; 560X700
pixels any color, I used white. |
| |
2. Bed Post; Draw a rectangle, size;
10X348, 3D Trim, Color; I used Gold 5 from the Easy
Palette, Material Attribute Gallery, settings; as far as
the slider will go. After you draw the
rectangle, use the transform tool ,and
go to the attribute bar, click on, rotate left 90% ,and
go to the attribute bar, click on, rotate left 90% ,
right click on the rectangle and choose, convert object
type, Reset Text/path object. Click on the arrow in the
attribute bar, rotate right 90% ,
right click on the rectangle and choose, convert object
type, Reset Text/path object. Click on the arrow in the
attribute bar, rotate right 90% .
We ha ve changed the lighting to run vertically, now it
looks round. .
We ha ve changed the lighting to run vertically, now it
looks round. |
|

 |
3. Lets add a decoration to the post.
using shape wave 1, draw a small shape, 3D round, I used the same
gold 5. place it on the post. use the transform tool,
rotate by degree, 45% clockwise, then resize it to;
17X9 like in the
example, duplicate this piece 4 times, center them on the
post, leave a space between them, select all of them,
right click, align, space evenly, tick vertically and
ok. Right click and group. |
|

 |
4. lets make a foot for the post, using
the shape, round edges 3, same preset, 3 D trim, size;
24X24, flip vertically, again turn the shading as in
step 2. place it on the bottom .Right click select all
the parts of the post and group. I try not to merge
until it is completed, unless it has to be merged. You
can do your own thing.LOL |
|
 |
5. bar; Using path shape
rectangle, same color gold 5, size 393X10 pixels in 3D
trim, place the post on one side of the post
we just drew, duplicate the post and place it on the
other end like in the example. |
|
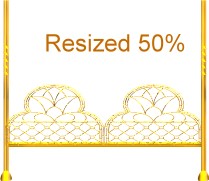 |
6. unzip the file you downloaded from
the top of the page, they should be the correct size, if
not resize them to fit. The two smaller pieces go
between the two post we just made, line the bottoms up
with the horizontal bar. so that it sits on the top of
the bar. See example at left. |
|
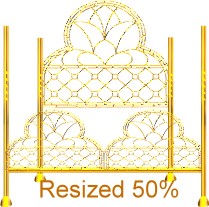 |
7.Duplicate both grouped post and resize
them with the transform tool to: only the height; 277
pixels. Using the larger of the two files you downloaded
place it between the two post you just resized, send to
back, leaving a space between the two post we made
first. |
|
 |
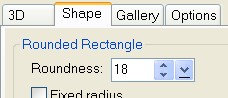
8. For the middle of the bed, use path
drawing tool, rounded rectangle, any color you prefer,
2D, size; I drew size 211X84, we are going to resize it
after the next step. In your path panel click on shape
to set the roundness to 18. Resize it to; mine
is; 211X101, place this in the middle of the bed, between
the head board and foot board, right click and send
behind the parts of the foot board., now use the
transform tool, perspective , to stretch the end nearest
to you, outwards to meet the post. on the opposite end use perspective to bring the
ends inward, to give it perspective.
draw an additional rounded rectangle, with the same
roundness setting, the same color, now resize it, mine
is; 393X 65 pixels, to go across the bottom of the piece
we just made, it goes behind the foot board. Go into
path edit and remove the two inside nodes on the inside top.
At left is what you should have or something similar. |
|

 |
9. Draw a rectangle in the same color
for the skirt, size; 398X62, 2D, sent this back behind
the foot board. using the transform tool, perspective to
widen the bottom a bit. using the air brush with the
settings at left, color;#20376E, unless your using a
different color, if so, go darker than the color your
using. darken the skirt in
different spots with a downward stroke for the look of
ruffles.
Change the color to; #B4C7F5, again, you may be
using a different color. and the size to 20 to
lighten between the darker color.
use the blur tool, default settings and lightly blur. |
|

 |
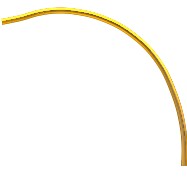
10. Lets finish the canopy; with the
outline drawing tool, draw an ellipse in the gold 5,
size; 12X3 pixels, place this on the top of the post,
duplicate 3 times for the other 3 post. using
the line and arrow tool, spline
 , size 3, 3D depth of 30,
the same color gold, to draw the shape you see at left,
you can take it into your workspace and copy right over
top, to follow the line, if you want. , size 3, 3D depth of 30,
the same color gold, to draw the shape you see at left,
you can take it into your workspace and copy right over
top, to follow the line, if you want.
Change to size to 2, leave everything else the
same and draw another curve, like in the example at
left.
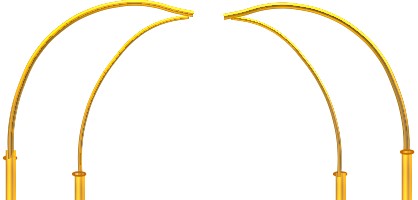
working with the larger of the two, place this one
on the top of the post on the right, the post closest to
you, which is the back of the bed. Duplicate, transform,
flip it horizontally, place it on the on the left post.
For the smaller shape, place it on the right post
at the front of the bed, duplicate, flip horizontally,
place this one on the left front post. |
|


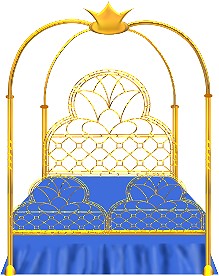 |
11.we have to have a decoration for
the very top. you can choose your own or use my idea. I
drew an ellipse, in the same gold5. 3D, size; 81X30, to
place in the center where the curve pieces almost meet.
I used the crown two shape from the path drawing tool
gallery, size; 111X58, in the same gold color, 3D.
placed the crown on top of the ellipse, centered.
Merge the two as a single object, use the blur tool, to
smooth where the crown meets the ellipse.
Left is what I have at this point. |
|
 |
12. I made a very simple pillow with
the rounded Rectangle, duplicated and changed to 3D
pipe, centered both and burned around the edges.
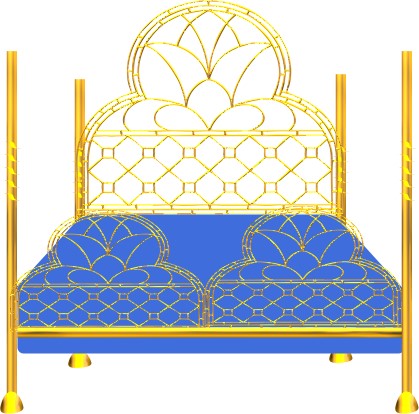
13. Completing the bed. activate the sheet, right
click, convert from text/path to image, using the burn
tool, size; 30, level 100, soft edge; 100, burn around
the sides , bottom and under the pillow. use the blur
tool, size; 50, level; 5, soft edge; 50 and blur.
use the burn tool same settings on the piece across the
back of the bed, above the skirt, burn the edges and
then blur.
It is completed.
Thank you for doing my tutorial. If you have any
questions, you can find my email at to top of the page.
|
|
 |
After completing this Tutorial feel free to download
the award on the left.
This award is offered to you on the honor system. Right click and save
to your own folder. Please do not link to any of my graphics. Thank you.
|
|
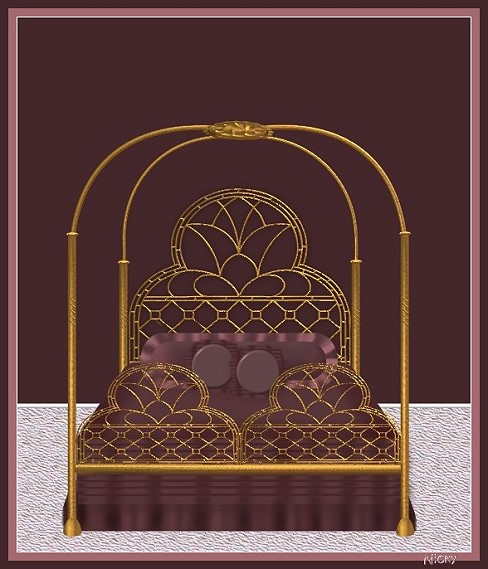 |
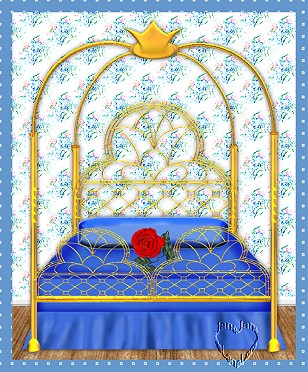
Thank you nicky for testing my canopy bed. it is my
pleasure to display your beautiful results. |
|