| Say Cheese Paint Shop Pro Tutorial |
|
Paint Shop Pro
Tutorial
I used Version x
but I am reasonably sure it can be done in many other
versions as well. You must have some knowledge of
Paint Shop Pro
by
Jane's Haven
Any Questions?
Contact Us.
Supplies
Paint Shop Pro, any version
Animation Shop
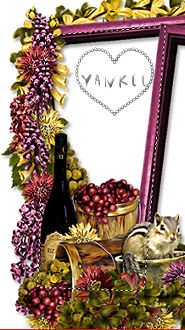
The Cluster Frame is from Allison's Addiction
It is included in the zip
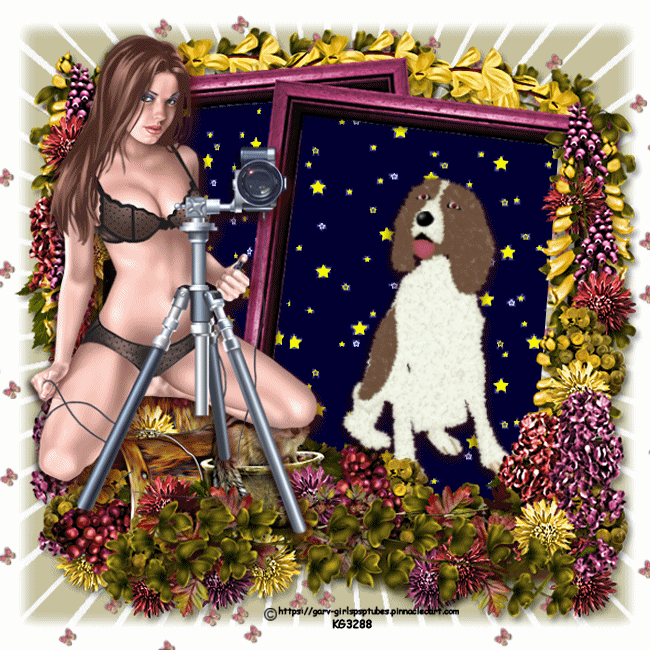
A tube of choice,find one with a camera, the one I am using is the beautiful art of Keith Garvey
You must have a license to use.
Download supplies
In the zip, frame, dog, camera light, a mask and butterfly sprinkles.
Unzip the supplies, if you wish you can open in PSP
Use My Fat Pencil to drag to the line in the tutorial, to keep your place.

|
| 1. Open a new transparet image, size 600X600, flood fill with white. |
| |
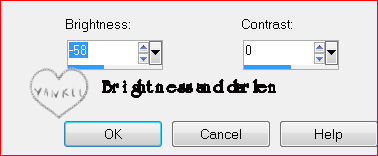
2.Using the free hand selection tool, point to point. On the frame left, click around the outer edge of the frame, shown below. Add a new layer under the frame, and fill, I used, Corel_08_047, you will find in your material palette, patterns. After flood filling I went to, Adjust, Brightness and Contrast, to darken the frame fill. Settings below.
|
| |
3. Now go to the other side of the frame and repeat the above. |
| |
4. Open the mask in PSP. Activate the bottom layer, add a new layer, fill with color ##c7c29f. Go to layers, new mask layer, from image and apply the mask, merge group. This layer is above the white background. |
| |
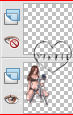
| 5. Add your tube, resize to your liking and place on the left side of the frame, add a drop shadow. You can use these settings, H & V 5-opacity-60, blur-10, color black. |
| 6. Add your favorite pet or usne the dog in the zip, add the same drop shadow. |
| |
| 7. Add the copyright and your name. |
| |
| 8. Now, we will add the camera light, open and copy, paste as a new layer. Drag to the caomera on the lens. |
| |
9. Open animation shop. Go to PSP and in the layer palette click on the camera light eye to close. Go to the title bar of the tag, right click and choose, copy merged. Go to animation shop, click paste as new animation. Back to PSP, open the camera light by clicking on the eye. Copy merged, back to animation shop. Click on paste after selected frame. Set the frame properties to 100, save as a gif.
|
©by Jane's
Haven all Rights Reserved Except Where Otherwise Stated.