|
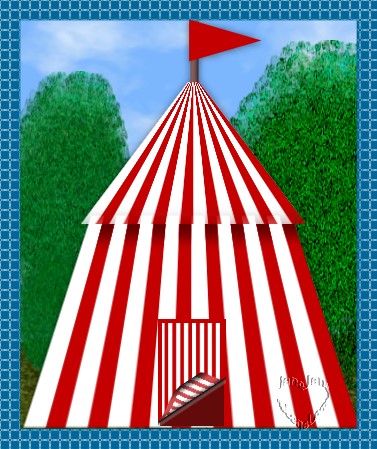
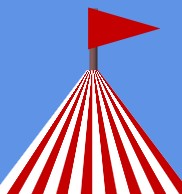
Easy Circus Tent
While playing Photo Impact with shapes,
this is the result.
|
|
You may use your own creativity
while doing this tuorial. |
| Created with Ulead Photo Impact.
PI
Version- I am using version12, I am certain it can be
done in earlier versions, from PIXL on up to PI12.
Skill Level: Intermediate
Author: Jane Davidson
Web Site:
Jane's
Haven
Email
Terms of Use
Path drawing tool, perspective, burn tool, effects.
|
 |
| |
1.Open a new image, background, depends
on the colors you use for the tent., I am using a light
blue size; 500X450. |
|

 |
2.Using Vertical lines path shape, In
2D, I used a red color, draw the shape about 250X212
pixels. |
|
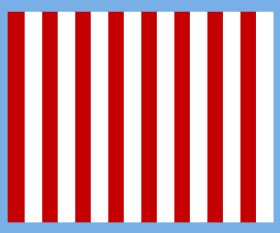 |
3.Duplicate this shape and change the
color, I used white. Slide this white shape over until
it covers the spaces in the red shape. Select both
shapes, right click. align top and merge as a single
object, duplicate this merged piece and set it aside. I
duplicated again and used for the door. |
|
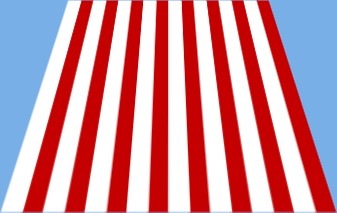 |
4.Using the transform tool, click on
perspective and using the left top handle, push it
inwards to reduce the width at the top. Next use the
bottom right or left handle and pulled the bottom
outwards. |
|
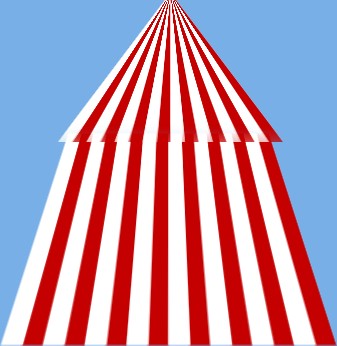 |
5, Tent top. Bring your duplicate shape back to
the main image, the one we started with, this is for the
tent top. Resize to; 225X142, Place it at the top of the
first shape, over lapping a bit of the top of the bottom
shape. 6. Using perspective again, pull the top
together, see example. At this point, I noticed the
bottom edge was some what blurred. Duplicate, align both
and merge as a single object. |
  |
7, Lets add a post for the very top.
Using the rectangle shape, color; I used a dark brown, size;
8X71 in 3D. Pace at the top center. Send to back,
8. Using
shape A08, see left, size' 58WX51H,in 2D, color, I used a red,
rotate right 90% and place on the post. |
|
 |
9. The door opening. Using the
rectangle shape, size; 64wX105H, 2D, color; I
used;#630A0A, Place at the bottom center to line it up
with the bottom, Duplicate, change to 2D pipe., border
2; depth 1, place this over the rectangle we just made.
We need another rectangle,
I saved the
duplicate of the top part of the tent, but you can use
any color you wish, It should be the same size as the
first door rectangle, place this rectangle over the 3D
pipe and send behind the 3D pipe shape. Select all three
rectangles, align Center both and make sure they are
lined up with the bottom of the tent.
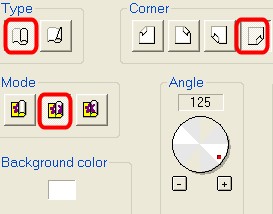
10, Select the 3D pipe and the rectangle under
it and merge as a single object. Keep selected.
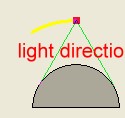
Go to effect, all, find turn page.
Use the settings at the left. |
|
 |
11. Lets do some shading. select the
very first shape we made, grab the burn tool, setting;
size; 45, soft edge; 100 to darken the top edge, under
the bottom edge of the tent top.
Thanks for doing my
tutorial, hope you had fun |
|

This is by Nicky. Wonderful work Nicky.
Thanks so much, your a gem. |
|
 |
You may download the award on the left.
Which is my thanks for doing my Tutorial
Please do not link to
any of my graphics. Thank you.
|
|