| 1. Open your image or you are
welcome to use mine if you wish. Right click on the
snowman and save to your folder and open it in Paint
Shop Pro.

Let me explain, if your image
has enough space all around the actual image, You can go
to selections, select all.
Next go to selections, modify,
contract by 10 or any number, as long as it clears the
main image. Mine is contracted by 10. Below is a partial
image after contract.

Next, invert the
selection, now we have a border.

|
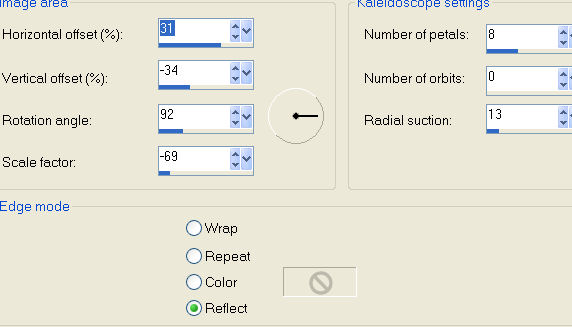
| 2. Now for the fun. Keep
selected, go to effects, reflection effects, kaleidoscope.
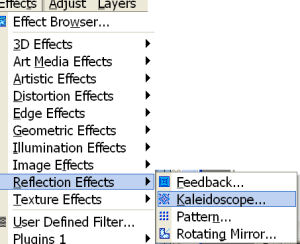
I used the
settings below..
I also
added a drop shadow with the following settings.
Vertical and
Horizontal; 3
Opacity; 43
Blur; 13.00
Color; Black
Repeat the drop
Shadow changing the vertical and Horizontal to; minus 3.

|
| If you can't add the border
like in the
previous steps, as in, there isn't enough
room around the actual image.
Make sure you have merged your image. Go to image add borders and type the number of pixels or
how wide you wish your border to be. For the color of
your border, use a color that is entirely different from
your picture. With this picture I used the color pink
for the border. Use your magic wand, tolerance; 0,
feather; 0, to click the border. Now that it is
selected, we can change the color using the flood fill
tool. First add a new layer and flood fill. I used
color;#8db4df.
Now you can add the kaleidoscope
effect
There you have it, how I do
those pretty frames. |