|
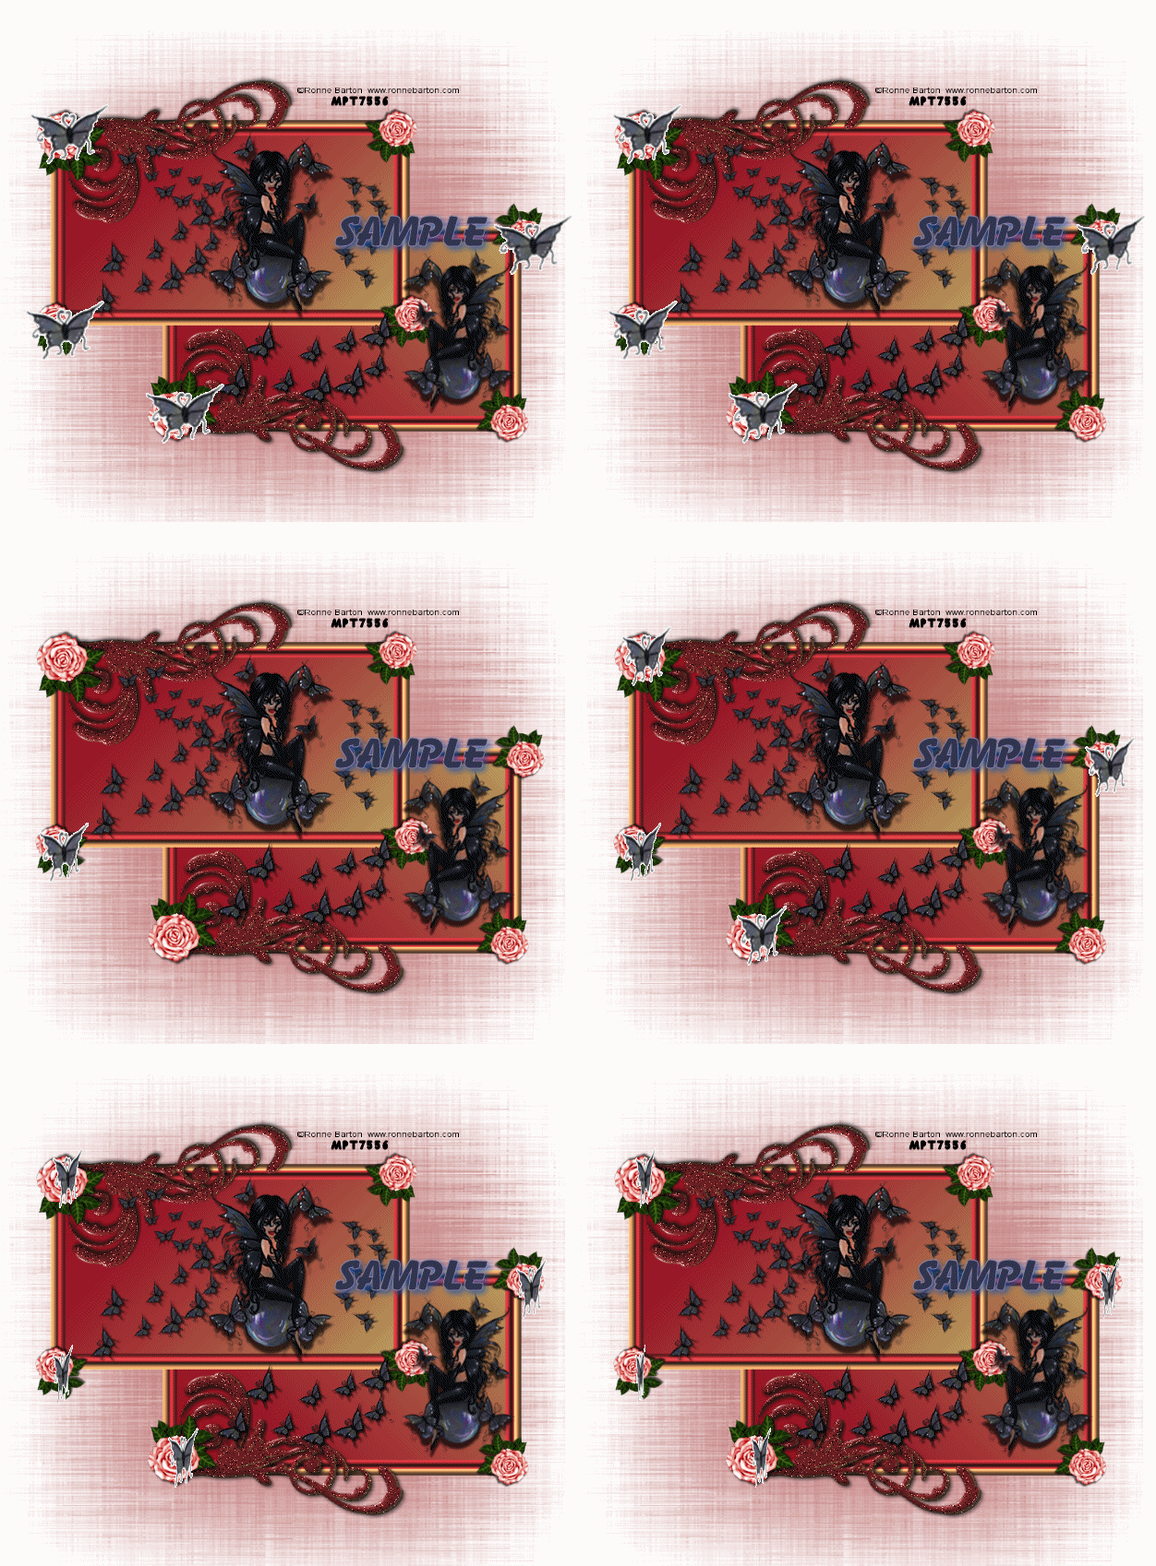
This is what we are
making.
Inspiration

Paint Shop Pro
Tutorial
I used Version x8
but I am reasonably sure it can be done in many other
versions as well. You must have some knowledge of
Paint Shop Pro
by
Jane's Haven
Any Questions?
Contact Us.
Supplies you will need.
The tube store where mine came from no
longer exists.
The Artist is: Rome Barton
Font of your choice.
No outside filters
Supplies
Add your own drop shadow, if you wish.
Use My Fat Pencil to drag to the place you are in the tutorial.
 |
|
1. Open a new image size, 600X500. Flood fill with a
gradient color, set the foreground to, #d34c53,
background color, #d8af8c. Go to the gradient, use these
settings, angle, 34, repeats, 1. invert checked. flood
fill. Add the mask, merge group. |
|
2. Place the frame near the bottom on the right.
Duplicate and flip vertical, move it up and over to the
left.
Note: If you are using an older version of Paint
Shop Pro, you may not have the function, flip vertical
therefore, just flip the image |
|
3. Place the tube in the top frame, resize if needed,
add a drop shadow, H, V 2, opacity 70, blur, 3, black.
Duplicate the tube, mirror, place on the bottom frame to
the right. |
|
4. Open the butterfly, copy and paste as a new layer,
add a drop shadow to the first one. duplicate as many
times you wish to place them on the empty space in the
frame. |
|
5.Before we add the animated butterfly, on the bottom of
the layer palette, add a new layer and flood fill with
white. |
|
6. Add your name and copyright if needed. |
|
7. Copy merged, take the tag to animation shop. paste as
a new animation. Browse to find the animated butterfly,
open and count the frames there are 8 frames therefore,
we need to duplicate the tag 7 times. Activate the
animated butterfly, hold the control key down and press
the A key, this will select all the frames, then copy.
Activate the tag frames, control key and A key. then
click paste the butterfly where you want if, you can
paste as many butterflies as you wish. When completed,
select all frames again and go to animations properties,
set the time to 10, View the animation, if satisfied
save as a gif. |
|
What you create is yours. |
©by Jane's
Haven all Rights Reserved Except Where Otherwise Stated.