|
 |
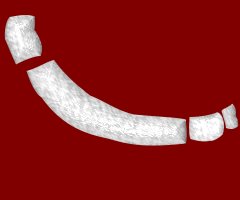
Step 7
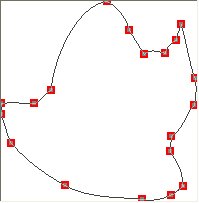
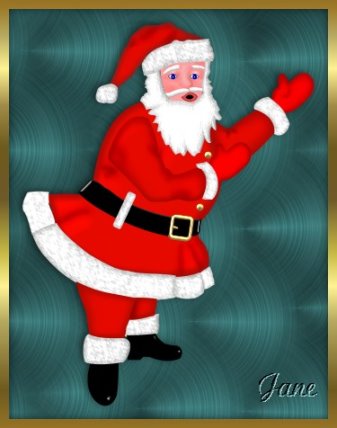
Santa Coat.
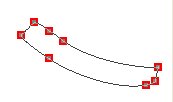
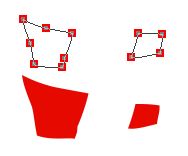
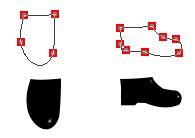
Path Drawing tool, ellipse, color: E50900, 2D, size: 145X178. Go into
path edit mode again, shown at left are examples after it is edited. As
you can see you have to add nodes. Looks somewhat strange, huh.:))
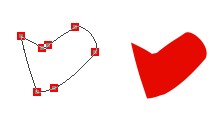
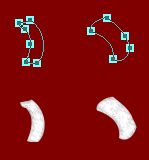
Lets make the sleeves before we add shading.
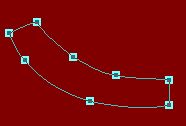
Path drawing tool ellipse, color: same as above,E50900, 2D for now,
size: 99X58, you guessed it, path edit mode. Add nodes to get the shape
at the left.
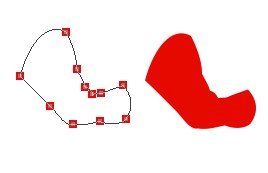
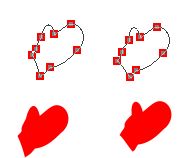
Left Sleeve.
Path drawing
tool, ellipse, 2D for now, color same as above, size: 108X77.
Path edit mode, add nodes or points which ever you want to call them.
See illustration at left.
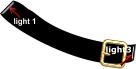
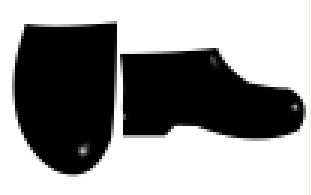
We are going to add shading, first to the main coat piece. Right click
convert to image. Using the burn tool with these settings:

Burn shading into to coat at the bottom, as I have done,
see image left. Change to size of the burn settings to 5, burn where the
sleeve pulls the coat. You may have to go over them a couple of times.
Using the blur tool at the default settings blur these lines to blend
well. Lets go on to the sleeves to add shading.
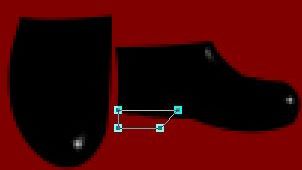
Right click, convert to an image, using the burn tool using these settings, size:5, soft edge: 51, Level: 100. two lines where the arm bends.
Paint on edges,
Paint brush, settings, color: #9E0B09 size:10, transparency: 0 soft edge: 100, select
the sleeve and paint on edges. take the blur tool, with these settings,
size: 20, soft edge: 50, level: 5 to blend the POE.
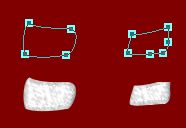
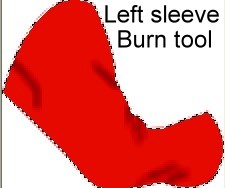
Left sleeve is done the same way as the right sleeve. convert to an
image, using the burn tool with these setting, size: 5, soft edge:51,
Level 100. Using the blur tool with these settings, size: 20, soft edge:
50, level: 5 to blend. See example at left.
Paint brush, settings, color: #9E0B09 size:10, transparency: 0 soft edge: 100, select
the sleeve and paint on edges. take the blur tool, with these settings,
size: 20, soft edge: 50, level: 5 to blend the POE.
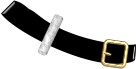
On the left is what my finished sleeve looks like.
We have to finish the main part of the coat by paint on
edges. Paint brush setting, color: #9E0B09

Using the blur tool, size: 20, softedge:100, Level: 5,
blend the POE.
Grab the dodge
tool with these settings:

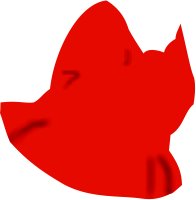
On the bottom of the coat on both sides of where we used the burn tool
, use the dodge tool to lighten to make the shading stand out and blur
it again. At left is what I have now.
Send the coat behind santa's beard. The sleeves are
front. |