|
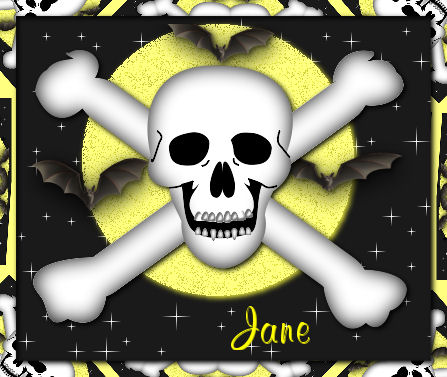
Halloween Skull
Paint Shop Pro Tutorial
 re re
I am using Paint
Shop Pro Version 9. It cam be dome in other versions as
well. Except PSP Version 7, you can download those
selections,
Here
Bu
Jane's Haven
Email
Terms of Use
I am using
Selections, which you can get
Here. |
| 1.Open a new image size;
415X345, too see what you're doing, flood fill with a dark
color. I used; #0a0e88. |
| 2.Add a new layer,
name it, cross bone 1, load from disk the, 01-crossbone1
Selection. Flood fill with white, invert selection and
add the following drop shadow.
Vertical and Horizontal; 0
Opacity; 100
Blur; 28.71
Color; #000000
Deselect. |
| 3.Add a new layer, name it,
cross bone 2, load the, 02-crossbone2
selection, flood fill with white, invert selection and
add the same drop shadow. Deselect. |
| 4. Add a new layer, name it,
head, load the 03-head Selection, flood fill with white.
invert selection and add the same drop shadow. Deselect. |
| 5.Add a new layer, name it,
face detail, load the, 04-facedetail selection, flood
fill with black. Deselect. |
| 6.
We are going to have to add each of
the top teeth separately to make them look correct. Add a new layer, name it,
tooth 1, load the, 05-tooth1 selection, flood fill with
white. Float the selection and add a cutout with the
following settings. Vertical and
Horizontal; 2
Opacity; 100
Blur; 2.00
Color; #737171
Repeat the cutout
but change the vertical and horizontal to; minus 2.
Deselect. |
| 7. Add a new layer, name it,
tooth 2, load the, 06-tooth2 selection, flood fill with
white, float, add the same cutouts as in step 6. Deselect.
There are 8 teeth selections,
we have added 2. Just repeat these same steps for each
tooth. Add a new layer for each one. |
| 8. Add a new layer, mane it,
bottom teeth. load the, 013-bottomteeth selection, flood
fill with white. invert selection and add the following
drop shadow. Vertical and
Horizontal; 0
Opacity; 100
Blur; 4.00
Color; Black
Deselect. |
|
To save as a tube, delete the
background layer and right click on a layer, choose,
merge visible. To add a different background, hide the
background layer and merge visible. To add tubes, etc,
add new layers.
I hope you had fun. :)))
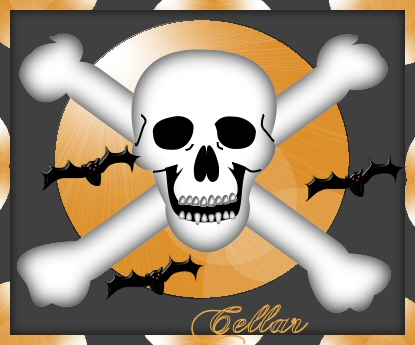
Thanks Cellar, you are a sweetie
and your results are positively beautiful. |
© By Jane's Haven, All Rights Reserved.