|
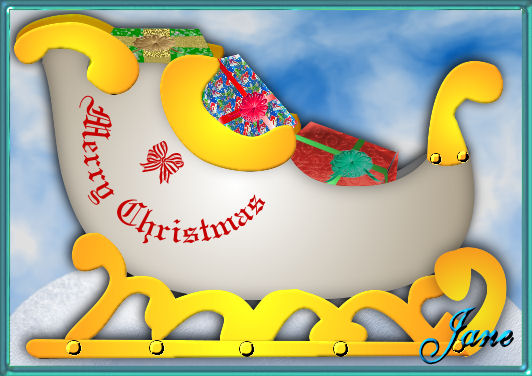
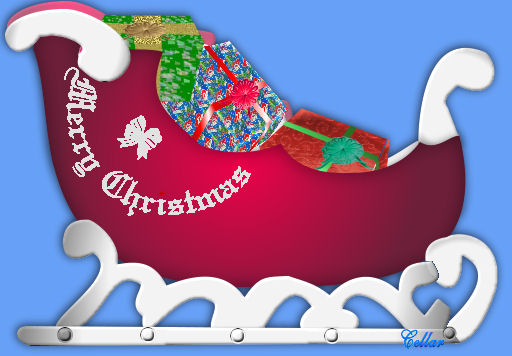
I call this and Elite Sleigh Tutorial
using Paint Shop Pro Version 9. I am sure it can be done
in other Versions as Well
By
Jane's Haven.
Email
We Will Be Using Selections Which you
Can Download
HERE. Included in the zip are the gift
boxes, text and bow.
Sleigh Selections
for Version 7,
here |
| 1. Open a new transparent image size:
512X356. |
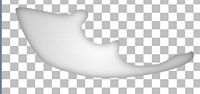
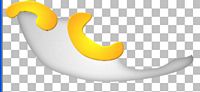
2. Open a new layer
and name it, back side, go to selections, Load/Save from
disk and load the 1-backside sel. Flood fill with a
light gray and white gradient or color of your choice. I
used the sunburst
 style
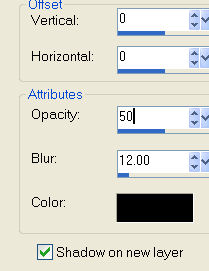
for the gradient. Invert the selection and give it a
drop shadow with these settings. style
for the gradient. Invert the selection and give it a
drop shadow with these settings.
Vertical and Horizontal 0.
Opacity, 45
Blur, 28.00
Color black.
Deselect.
 |
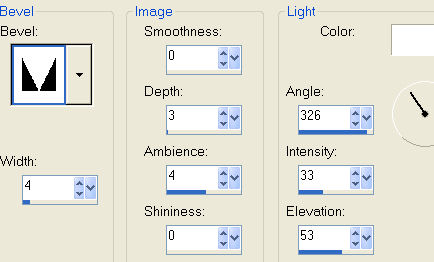
| 3.Add a new layer, name it, back
trim, load the 2-backtrim sel. Flood fill, I used a
gold gradient, sunburst style.. Add an inner bevel with
these settings.
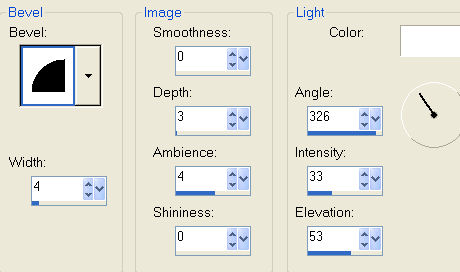
Dese;ect. |
| 4. New layer, name it back side
trim2, load the 3-backsidetrim2 sel, flood fill with a
gold gradient with the sunburst style. Add the same
inner bevel as the last one. Deselect.
 |
| 5. Add a new layer, name it, main
front, load the 4-mainfront sel, flood fill with the
same gradient as you did the back side, a gray and
white. Invert the selection and add the same drop shadow
as we did for the back side above. Dese;ect. |
| 6. A new layer, name it front
trim, load the 5-fronttrim sel, flood fill with the gold
sunburst gradient and add the same inner bevel, as we did on
the back trim, Deselect. |
| 7. New layer, name it front trim2,
load the, 6-fronttrim2 sel, flood fill with the gold
gradient, add the same inner bevel. Deselect. |
| 8. Add a new layer, name it
fronttrim3, load the 6a-fronttrim3 sel, flood fill with
the same gold gradient. Add the same inner bevel,
Deselect/ |
| 9. Add a new layer, name it,
bottom trim1, load the 7-bottomtrim1 sel, flood fill
with the same gold gradient, add the same inner bevel,
Deselect. |
| 10. Add a new layer, name it,
bottom trim2, load the 8-bottomtrim2 sel, flood fill
with the gold gradient and add the same inner bevel.
Deselect.
 |
| 11. Add a new layer, name it,
bottom blade, load the 9-bottomblade sel, flood fill
with the gold gradient and add the same inner bevel.
Deselect. |
| 12. Add a new layer, name it,
bolts, load the 10-bolts sel, flood fill with either the
gold gradient. Add an inner bevel with the settings
below.
Deselect. |
13. We are going to add a shadow
between the back side and main front. Click on the main
front layer in the layer palette and use the settings
below, click ok. Hi-light the shadow layer by clicking
on it and use the eraser to erase the shadow under the
main front and on the sides. See settings below for the
eraser.
Below are the eraser settings.
 |
| 14l. H-light the back trim
layers, one at a time, got to adjust, brightness and
contrast, use these setting, brightness minus 63 and
contrast 0. Remember do this to both back trims. Repeat
with the back side layer |
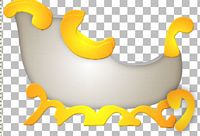
| 15.Now to add the decorations,
which I have included in the zip or you are free to use
your own. If you use mine, the first step is to open
them, the presents, the text and bow in your work
space., edit, copy the presents, minimize and stand on
the main front shadow 1 layer, add a new layer, load the
11-presents sel. Got to edit past into selection.
Deselect. |
| 16. To Add the text, edit copy the
text, now you can close it. hi-light the very top layer.
Go to your sleigh image and past as a new layer, use the
mover tool to place it on the side. Now do the same with
the bow.
Your elite Sleigh is completed. I
hope you have used some of your own imagination along
the way. |
|
A big thanks to Cellar, your a great
friend. |