|
St
Patrick is What we are Creating.
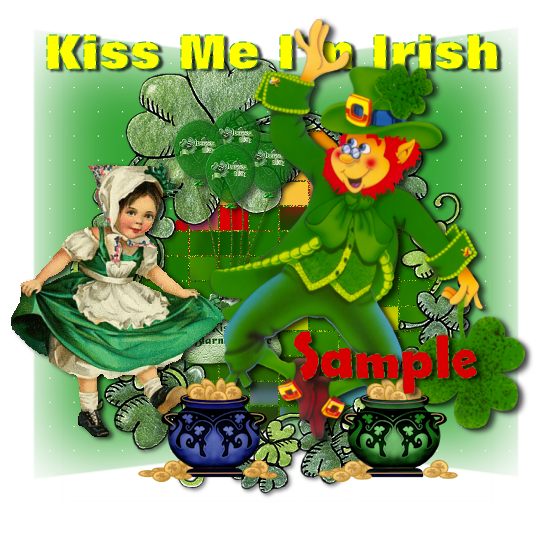
Paint Shop Pro Tutorial
I
used Version x5 but I am reasonably sure it can be done
in many other versions as well. You must have some
knowledge of Paint Shop Pro
by
Jane's Haven
Any
Questions?
Contact Us.
Supplies you will
need.
Font of your choice.
Supplies
Use My Fat Pencil to drag to the
place you are in the tutorial.
 |
|
1.Open a new transparent
image size, 550X550 pixels. Flood fill with, #36a536.
Apply the mask, merge group. |
| 2. Copy and paste as
a new layer, the wreath. Add a drop shadow, settings I
used, V, H, 2, opacity, 50, blur, 5, color, black.
|
| 3. Now we are going
to make a background fill for the middle of the wreath.
Open the tube stpaddy and duplicate by holding down the
shift key and pressing the D key, close the original
tube. Working with the duplicate, go to canvas
size, 700X800 pixels, duplicate the stpaddy tube, place
them side by side, merge these two together, duplicate
again, try to cover the space as much as possible,
merge visible.
 |
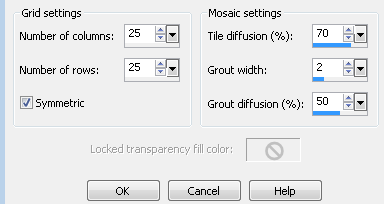
| 4.
Go to effects, texture, mosaic antique, with these
settings. Next, copy the wreath background, with the
magic wand, click inside the wreath, expand by 15, add a
new layer, paste into selection. Deselect.
 |
| 5. Copy and paste
the irishgirl2 image, resize 85 percent, place on the
left. Add a drop shadow. I used, H and V=2, opacity=60,
blur=5, color, black. |
| 6. Copy and paste
the stpaddy tube, resize, 70 percent, place on the
right, add the same drop shadow. |
| 7.Copy and paste as a
new layer the pots of gold, resize 40%. place at the
bottom, drop shadow. |
| 8.Copy and paste as a
new layer the balloons, place it in the center, add a
drop shadow. Drag it below the two characters. |
|
9.Add your name and
any credits if needed. |
| 10. What you create
is yours. |


