

This Tutorial
was created in Paint Shop
Pro Version 10, see no
reason it won't work in
other versions as well
You must have
a working knowledge of Pain
Shop Pro.
All
Materials are supplied in
this
folder.
No filters
needed.
Email Me
Terms of
Use.
|
1. Open a new
transparent
canvas, size;
600X500 pixels,
flood fill with
white. |
|
2. In the layer
palette make
sure the white
background layer
is active and
add a new layer.
Flood fill with
color, I used
color #6089f6.
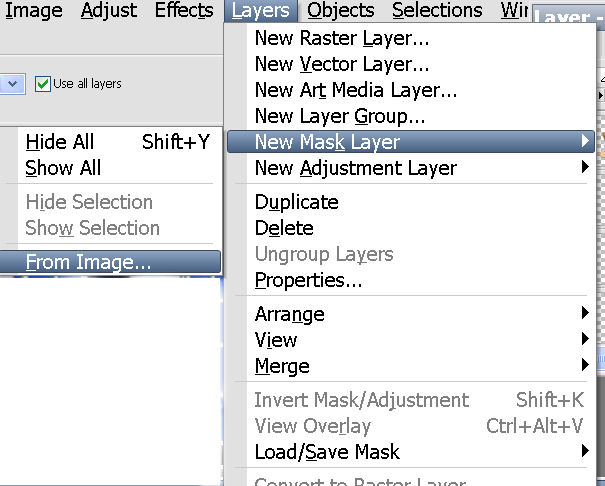
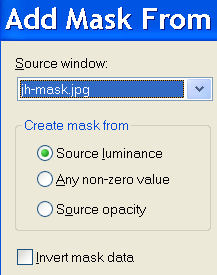
Open the mask
provided, go to
layers, in the
menu, click on
new mask layer,
then click on
from image.
Another window
will open, open
at the top and
find the mask. Use the
setting below.
Click OK, in the
layer palette,
merge group.
  |
|
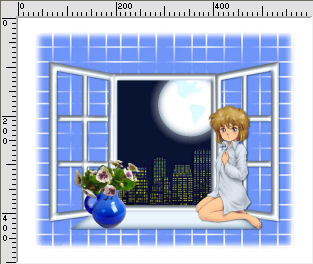
3. Open the
window image, copy and
past as a new
layer. |
|
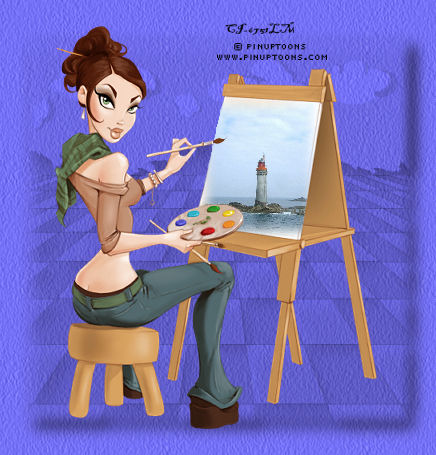
4. Open the
girl tube, copy
and paste as a
new layer,
resize 60%, all
layers not
checked. Place
it on the right.
 |
|
5.In the
layer palette,
activate the
frame layer and
add a drop
shadow. H and V,
1, opacity, 66,
blur. 4.00,
color, black |
|
6. Add the
same drop shadow
to the girl. |
|
7. Add your
watermark and
name. |
|
8.Open
animation shop,
in Psp, go to
edit, copy
merged, next go
to animations
shop and edit,
paste as a new
animation. |
|
9. Still in
animation shop,
duplicate the
frame 19 times
for a total of
20.Note: the way
I do this is;
Duplicate four
ties for a total
of five, go to
edit select all
and duplicate,
go to edit
select all and
duplicate one
more, for a
total of 20. Go to edit,
select all. |
|
10. Now,
open the stars
mng, go to edit,
select all and
copy. Go to the
image we have
been working on,
next, go to
edit, pasted
into selected
frame. Click
with your mouse
button where you
want the stars. |
|
11. I Pasted the
stars 2 times in
the dark
background. |
|
12. Go to view,
animation, if
you are happy
with the way it
looks, save as a
gif. |
|
|
 
Back to Top
© by Jane's Haven, all
rights reserved except where
otherwise stated.
|
|
|
|