![]()
![]()
This tuttroal was created by ,me in Paint Shoop Pro version 2019, it is totaly my creation.
What you create is yours, you can post it in any forum or anywhere you wish, except where there is nudity or sexu content.
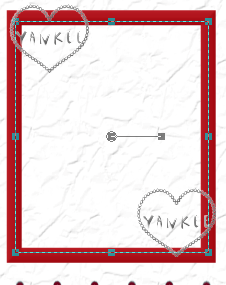
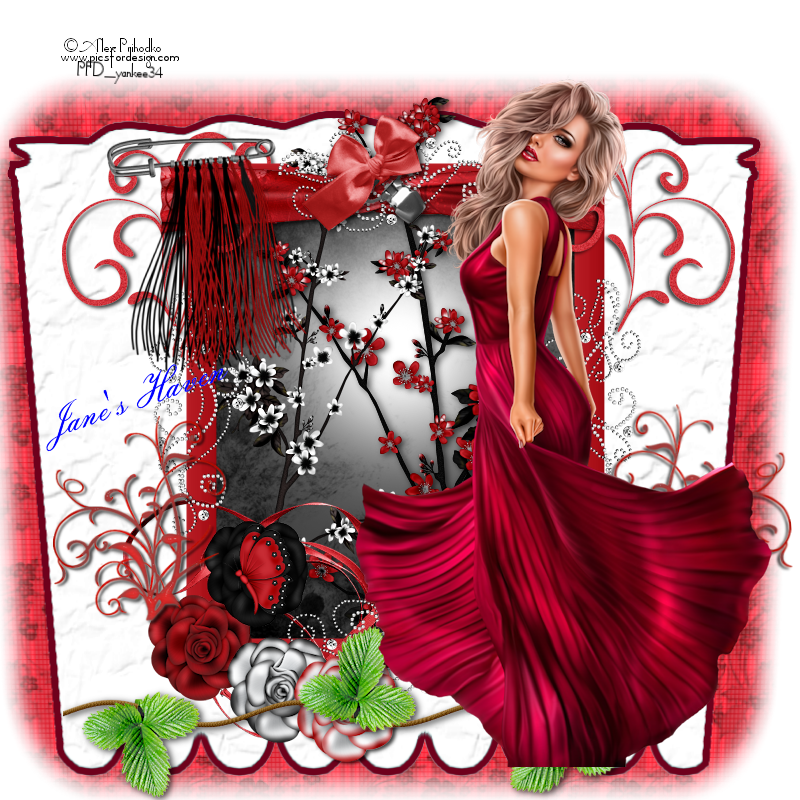
This is what we are creating. It's called Radient
The elements are no llonger available.
Supplies Used
My Template , Mask,Elements in Zip. Download
The tube is by a fantastic artist, © Alex_Prihodko
www.PicsForDesign.com
You can use the fat pencil to mark your spot in the tutorial

>
| 1. Open the enclosed template, you can leave it the size it is and re size if needed later. |
2. Open the frame1 , copy and paste as a new layer, using the selection tool set on rectangle, trace around the the frame, a few pixels inside the frame and on the frame see example below. Add a new layer under the frame with paper 1, paste into selection, deselect. Using the paint brush tool, see settings below, the color for the foreground is white, I added a new layer, click in the center of the paper1, as close to the center of the paper, click once.
|
| 3. You can add your tube now or later, I placed mine now. |
| 4. Element design1, copy and paste as a new layer, resize 30%, go to image free rotate, when it opens use these settings, left-90degrees-all layers,n not checked, now place it on the left side of the frame, add a drop shadow, H-V-3, opacity, 75, blur, 3, color black. |
| 5. Duplicate the design mirror,press and hold control key, press key M, move to the right side on the frame. Next duplicate the design, free rotate, 90degrees, left, place at the top of the frame. Duplicate again, flip vertical, place at the bottom, on the frame. |
| 6. Copy and paste as a new layer design 2,resize 50%, positions on the top left of the frame, move down to just above the the template, below the frame, place it so that you can see it, add a drop shadow. V-2, H-3, opacity, 75, blur 5, color black. Duplicate, mirror, place on the right side, like the other one. |
| 7. Open flower 2, resize, 70%, place at the bottom left on the frame. Repeat this line number 7, with the other 3 flowers, add a drop shadow. |
| 8. Copy and paste as a new layer ribbon, resize 70%, place on the left under the flowers. With the wrap bow, re size 80%, place on the frame at the top on the frame, drop shadow. |
| 9.Add the butterfly, resize 70%, place on the flower. add drop shadow. Next I added the bar as a new layer, resize 70%, place at the bottom, Make is under the tube, add a drop shadow. |
10. Place the 2 tflowers, paste as a new layers,, in the center of the frame, on one of them mirror, place side by side, add drop shadow. See below, this is where we are.
|
| 11. Open element 1, paste as a new layer, place on the deft corner, add a drop shadow. |
| 12. Copy and paste design 3 on the left side, resize 80%, add a drop shadow with the blur set at 3. Duplicate, mirror place on the right side. |
| 13. I used paper 2 and a m ask, add a new layer at the very bottom, select all, float, defloat, paste into selection, deselect and add the mask, one of your own or the one in the zip. |
| 14. Add copyright and name, save as a png. |
I hope you have enjoyed the tutorial.

![]()