|
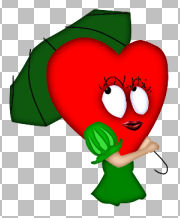
Mrs. Valentine

Paint Shop Pro
Tutorial
I used Version 9
but I am reasonably sure it can be done in many other
versions as well.
by
Jane's Haven
Contact Us
Terms of Use
Get my Selections
Here.
Selections for
PSP Version 7,
here.
You can find Mr.
Valentine tutorial
Here.
Unzip my
selections to a folder of your choice.
|
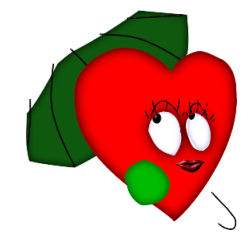
| 1.Open a new transparent image
size, 400x400 pixels. |
| 2. Add a new layer, name it;
01-eyes 1, go to selections, Load/Save selections, load
selections, browse to the folder where you save the
selections and load the, 01-eyes 1. Flood fill with
white, selections float, effects, 3D effects, cutout
with the following settings.
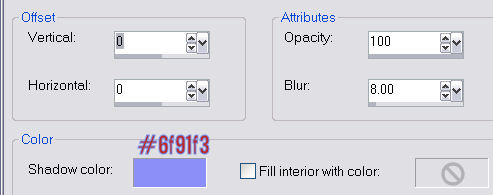
Deselect. |
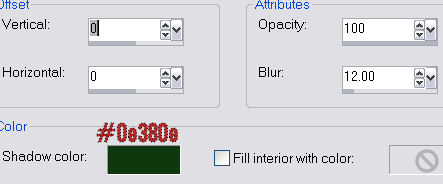
| 3.New layer, name it, 02-eyes2, go
to selections, load the,02-eyes2. Flood fill with black,
add an inner bevel with the settings below.
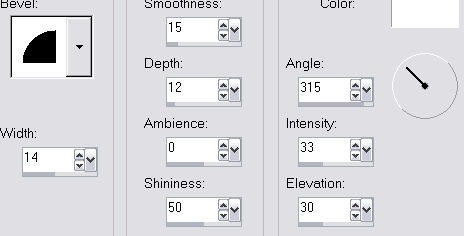
Deselect
 I added a blue background so you can see the eyes
better.
I added a blue background so you can see the eyes
better. |
| 4.Add new layer, name it,
03-umbrellahandle, go to selections, load the
03-umbrellahandle. Flood fill with black and add the
same inner bevel as in step 3, deselect. |
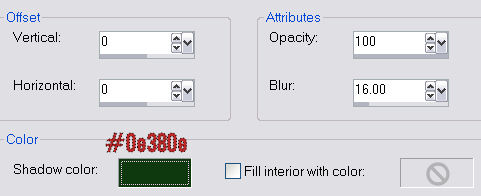
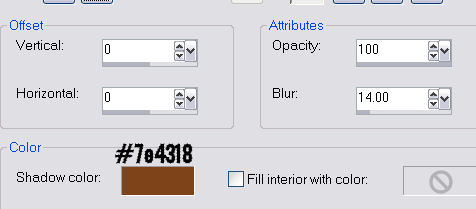
| 5. New layer, name it
04-unbrellaback, load the,
04-unbrellaback, flood fill with, #0f590f.
Selections, float, add a cutout with the following
settings.
Deselect.
|
| 6. New layer, name it,
05-umbrellarib, load from disk, the 05-umbrellarib,
flood fill with black. Add the same inner bevel as in
step 3.Deselect. |
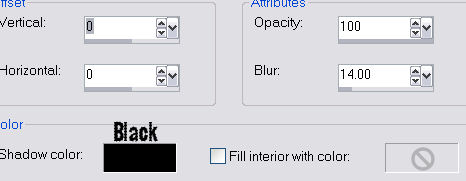
| 7.Add new layer, name it, 06-top,
selections, load from disk, 06-top, flood fill with,
#ff0000. Next go to selections, float, and add a cutout
with the settings below.
Deselect.
 |
| 8. New layer, name it,
07-eyelashes, load the 07-eyelashes, using the paint
brush with the settings below, move the brush over the
eye lashes with
black. Deselect.
 |
| 9. New layer, name it, 08-toplip,
load the 08-toplip selections from disk and flood fill
with, #800000. Add an inner bevel with the settings
below.

Deselect. |
| 10. New layer, name it,
09-bottomlip, load the 09-bottomlip selection from disk
and flood fill with, #800000. Add the same inner bevel
as we did for the top lip and deselect. |
| 11. New layer, name it 10-sleeve,
load from disk the, 10-sleeve, flood fill with, #00bc00.
Go to selections, float, and add the following cutout.
Deselect.
 |
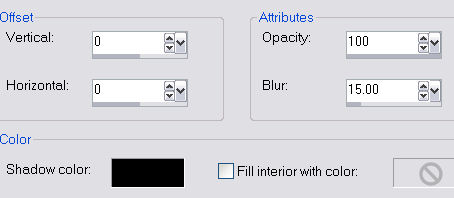
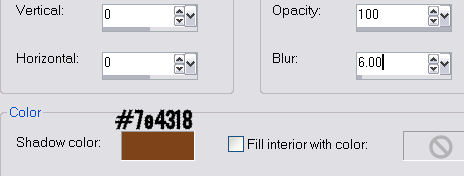
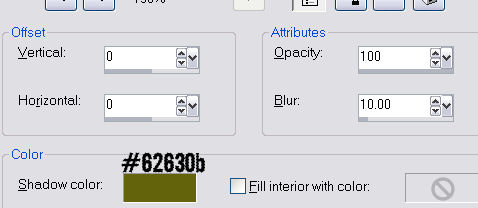
| 12. New layer, name it,
11-sleeveinset. go to selections, load from disk the,
11-sleeveinset, flood fill with, #3ae03a. Go to effects,
3D effects, drop shadow and use the settings below.
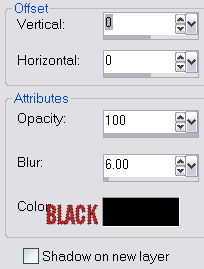 Deselect.
 |
| 13.New layer, name it,
12-sleeveruffle, load from disk the, 12-sleeveruffle,
flood fill with, #00bc00.Go to selections, float and add
the following cutout.
Deselect. |
| 14. New Layer, name it, 13-dress,
load from disk the, 13-dress. Flood fill with #008500.
Float selection, add the following cutout.
Deselect.
|
| 15. New layer, name it,
14-leftarm, load from disk the, 14-leftarm, flood fill
with, #f3cfb1. Float selection and add the following
cutout.
Deselect. |
| |
| 16. New layer, name it,
15-righthand, load from disk the, 15-righthand, flood
fill with #f3cfb1. Float selection and add the following
cutout.
Deselect.
 |
| 17. New layer, name it,
16-shoes, load the, 16-shoes, flood fill with black. Add
the following inner bevel.
Deselect. |
| 18.New layer, name it,
17-umbrellafront1, load from disk the,
17-umbrellafront1, flood fill with, #ffff00. Float
selection and add the following cutout.
Deselect. |
| 19. New layer, name it,
18-umbrellafront2, load from disk the,
18-umbrellafront2, flood fill with, #00bc00. Float
selections and add the following cutout.

Deselect. |
| 20. New Layer, name it,
19-skirtinset. load the, 19-skirtinset, flood fill with,
#3ae03a and deselect. |
| 21. We are finished, now you can
merge visible and save as a tube. |
|

My Most Humble Thanks to Cellar for
being so kink as to test this for me, fine job, Cellar. |
©Jane's Haven,
all rights reserved except where otherwise stated.